
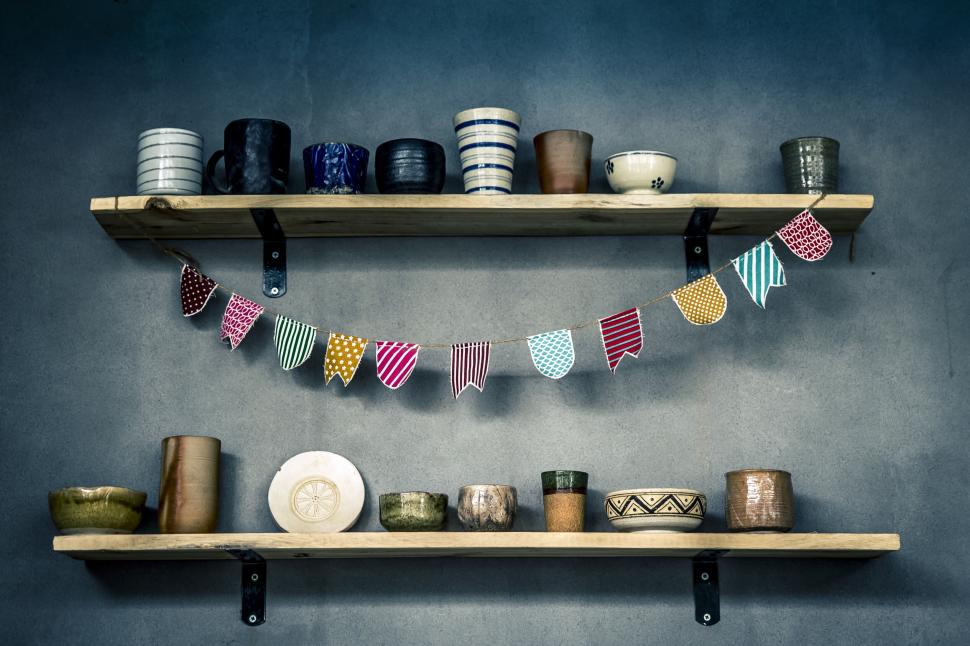
Why Floating Shelves Are One of the Easiest Ways to Transform a Room
Sometimes the smallest design changes make the biggest impact, and floating shelves are a perfect example. Clean, modern, and surprisingly versatile, floating shelves can instantly add warmth, personality, and function to almost any room in your home.
Whether styled in a kitchen, living room, bathroom, bedroom, or home office, floating shelves create visual interest without making a space feel crowded. Their simple “floating” appearance keeps rooms feeling open and airy while still giving you space to display the things you love most.
Why Homeowners Love Floating Shelves
They Make a Room Feel More Custom
Floating shelves add a designer touch that instantly elevates a room. Even a basic wall can become a beautiful focal point with a few thoughtfully styled shelves.
They’re Functional and Decorative
Floating shelves are perfect for:
- Framed photos
- Plants
- Candles
- Cookbooks
- Small artwork
- Decorative bowls or pottery
- Bathroom essentials
- Seasonal décor
They help organize a space while still keeping it stylish and personal.
They Work in Almost Any Design Style
From modern and minimalist to farmhouse and traditional, floating shelves can complement nearly any interior style, depending on the material and finish you choose.
They Help Small Spaces Feel Larger
Unlike bulky cabinets or furniture, floating shelves provide storage without visually “weighing down” a room.
Simple DIY Guide: How to Install Floating Shelves
Installing floating shelves is a relatively simple weekend project with just a few tools and a little planning.
Tools You’ll Need
- Floating shelf kit
- Drill
- Level
- Measuring tape
- Pencil
- Stud finder
- Wall anchors (if needed)
- Screws
Step 1: Choose the Right Location
Decide where the shelves will look best and function well. Common placements include:
- Above a sofa
- In a kitchen nook
- Beside a fireplace
- Over a toilet
- In an office or reading corner
Step 2: Find Wall Studs
Use a stud finder to locate studs behind the wall whenever possible. Mounting shelves into studs provides the strongest support.
Step 3: Mark Your Placement
Use a level and pencil to carefully mark where the shelf brackets or mounting hardware will go.
Step 4: Install the Brackets
Drill pilot holes and secure the mounting brackets to the wall. If studs are unavailable, use proper wall anchors rated for the shelf’s expected weight.
Step 5: Attach the Shelf
Slide or secure the floating shelf onto the installed brackets according to the manufacturer’s instructions.
Step 6: Style Your Shelves
Now for the fun part! Mix décor items with different heights, textures, and shapes for a balanced look. A few small plants, books, candles, or framed photos can make shelves feel beautifully curated without looking cluttered.
Final Thoughts
Floating shelves are one of the simplest ways to add personality, storage, and style to a room without a major renovation. They’re affordable, customizable, and surprisingly impactful for such a small project.
Whether you prefer a modern minimalist look or cozy layered décor, floating shelves offer endless opportunities to make your home feel more organized, inviting, and uniquely yours.
Check out this article for some fantastic ideas! www.apartmenttherapy.com/floating-shelf-design-ideas-262883